Sandy Mk II had developed a bit of a "wobble" at 80km/h and that was doing nothing for my driving confidence.
I decided to have a look-see at the general steering/track rod area (as one tends to) to discover that the pitman arm ball joint was done for. After a $67 venture to the local parts supplier I dedicated a half a morning to the job and the rest of my day could then be dedicated to other issues, after all, how hard could it be? hmph, famous last words.
That "simple job" has proven, unequivocally, to be the worst, and I mean WORST
-~*^@#$~-> W-O-R-S-T <--~$#@^*~-
...job that can be carried out on a land rover, (and I have changed a salisbury once!!). Seriously, I take back everything I said about the bushing job being worse than childbirth (I suppose?) this made that look like a cakewalk.
The replacement of the ball joint itself is not so bad, provided you never ever(!!) run your finger around the inside of a freshly pressed race because you see something like a hair on the inside. That part will take about 20 minutes, the problem occurs when you realise that the entire pitman arm has to be removed to achieve this, and according to the bard, therein lies the rub.
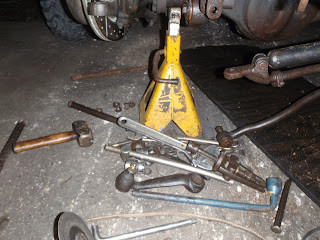
the arm is retained on the steering box's splined shaft by a large nut and a locking tab washer. Bam! 5 minutes= nut removed. getting the arm off the splined shaft takes nothing short of a miracle. It can't be heated, (lest you destroy all of the steering box seals which to be honest, probably leak anyway if your landy is more than 3 months old) it can't be prised off of the shaft for the same reason as heating, and it can't be beaten off from under the bonnet with a really long bar as some forums suggest (that may be subject to the model that you have, but on a non-a/c RHD landy, the answer is no)
Needless to say I spent the ENTIRE day beating, cursing, hammering, cursing again, shaking and shouting at the arm, until I decided I'd had enough and took a grinder with a very thin cutting blade to it.
N.B- I do not recommend this method nor do I accept any liability should this be the route that you choose to employ.
so after some very careful cutting and a great deal of patience this was the end result, and much to the pleasure of my ego, not even a scuff on the splines. well chuffed!


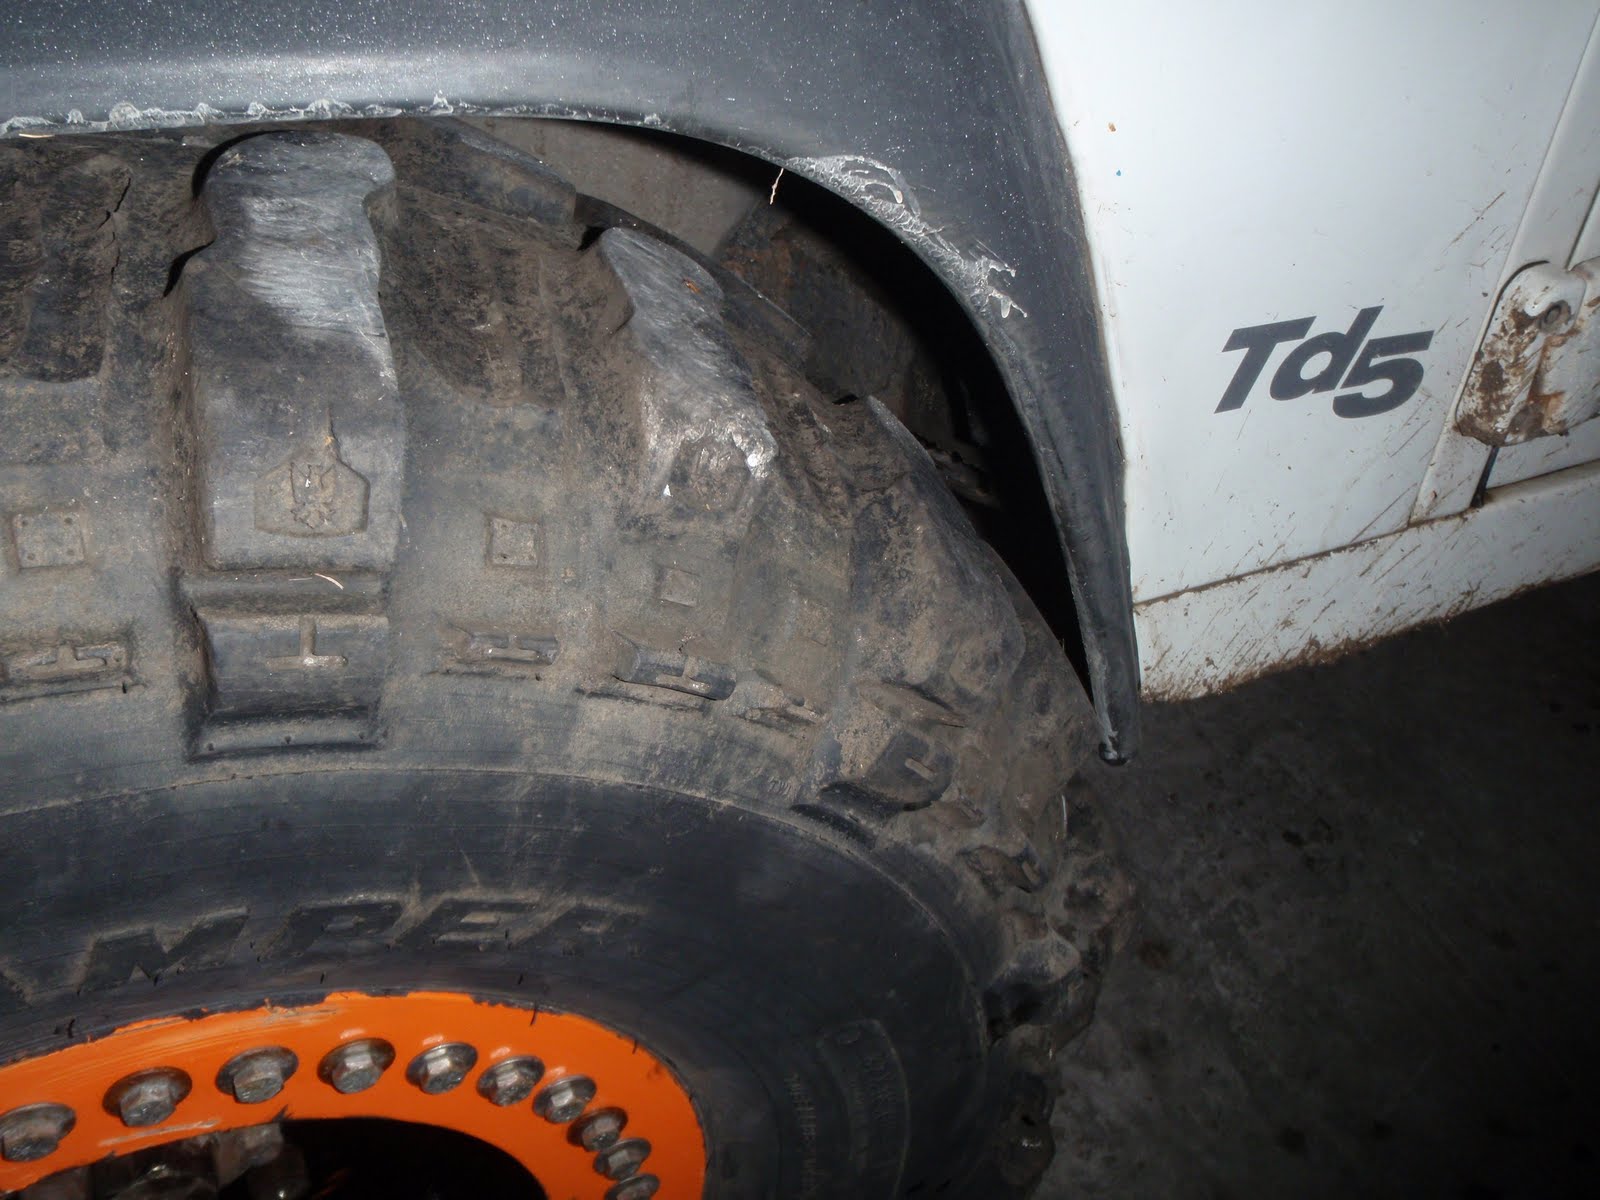
(see my nice brakes?)
Reassembly was essentially the reverse of the above, but including copious amounts of anti-seize on all nuts and splines.
Next time, I'll pay a garage!